
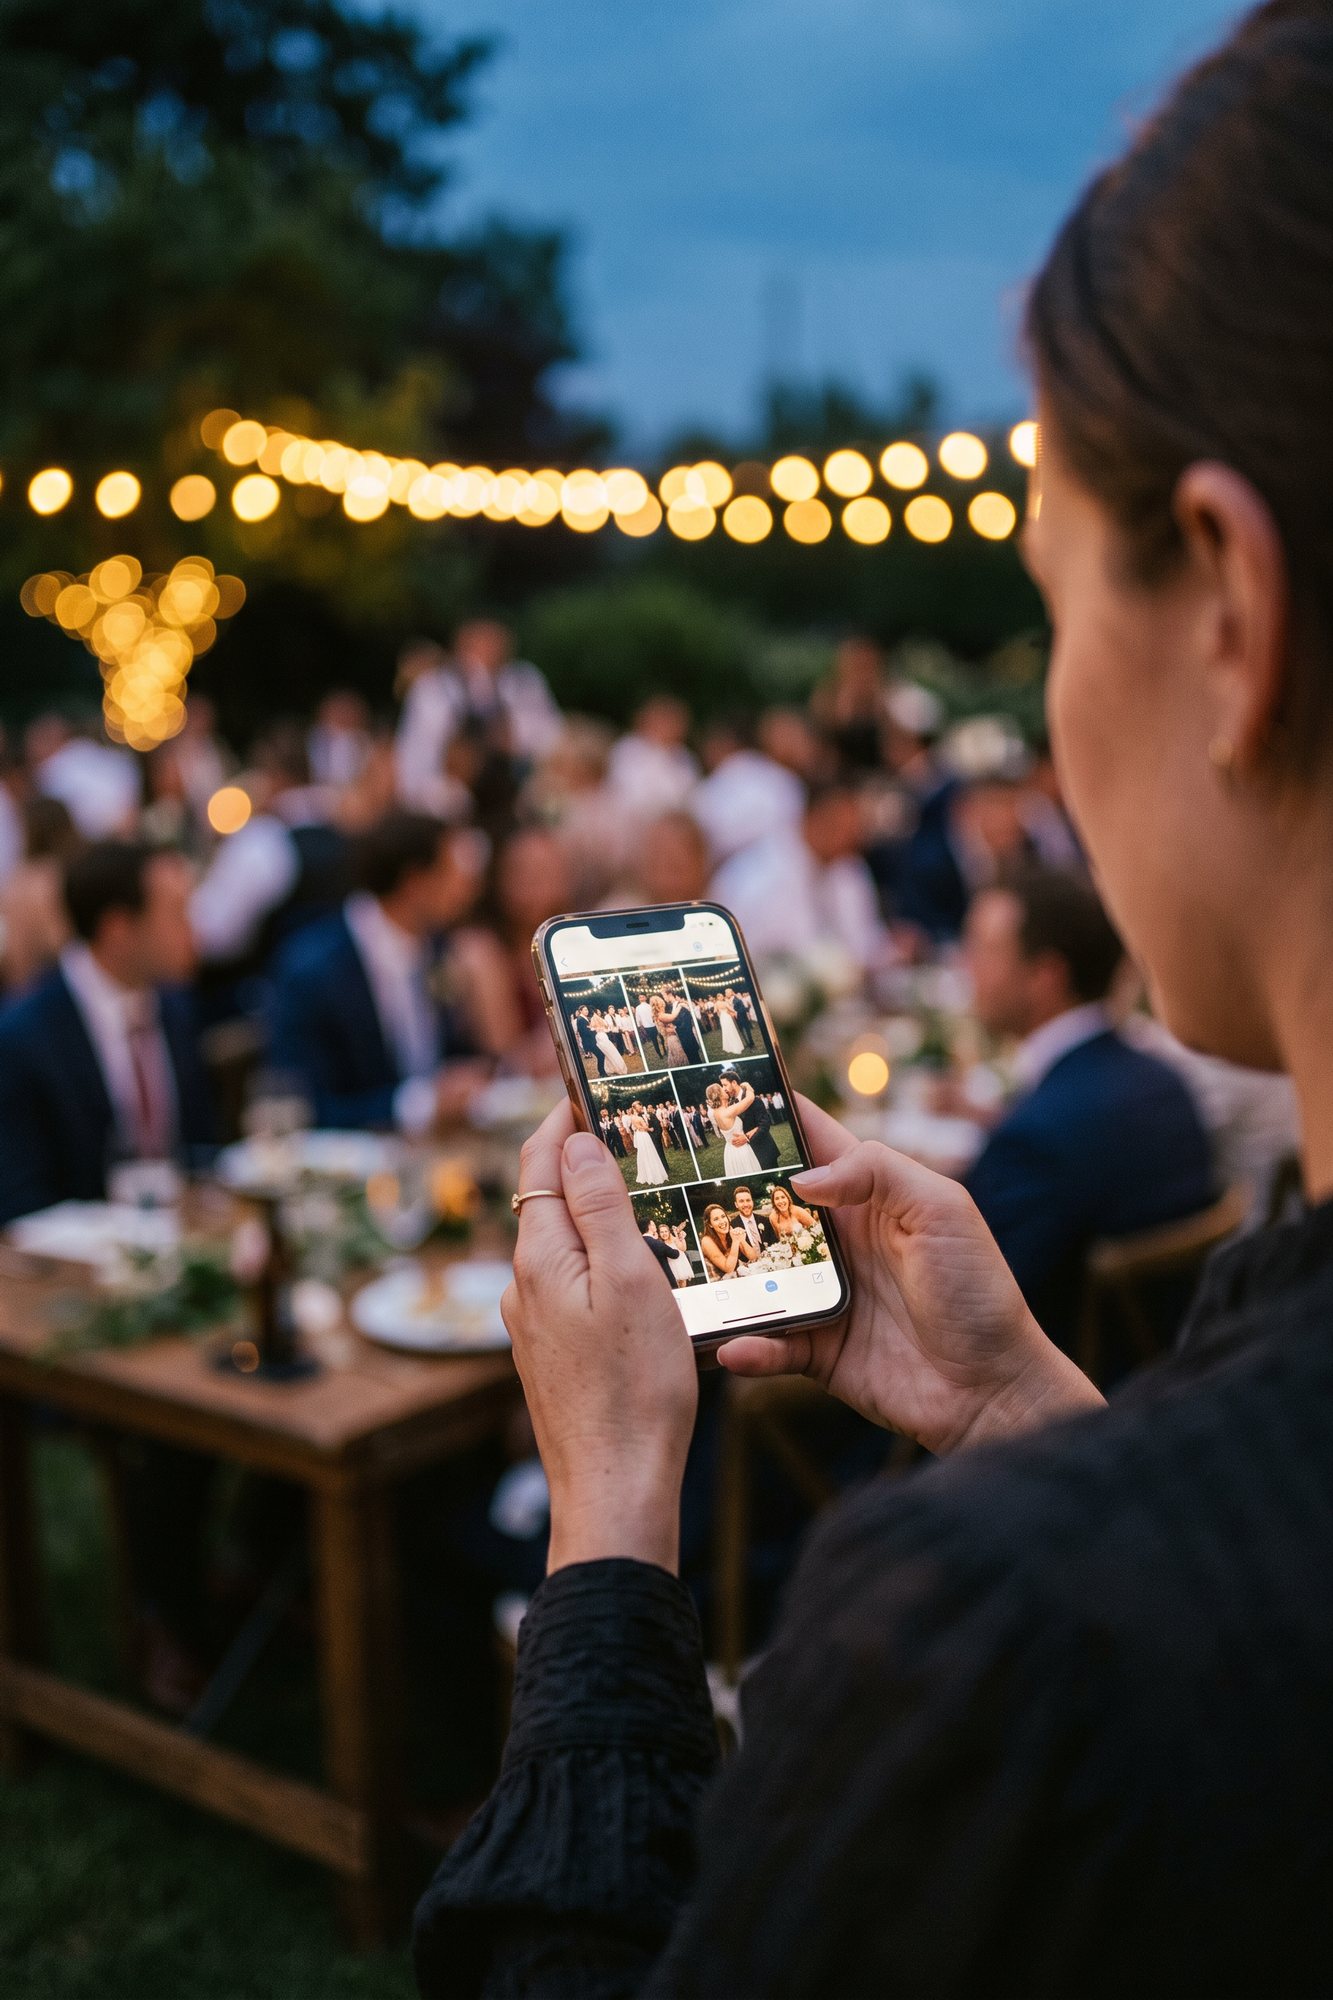
Creating an event on Snapick takes a few minutes and no credit card: a name and a date, a few photos, and face recognition is already working. The full guide - from sign-up until every guest finds their own photos.
Creating an event on Snapick takes a few minutes and no credit card: sign up, give the event a name and a date, upload a few photos and watch face recognition find the people in them. You only pay when you want to open the gallery to your guests - then every guest opens a link or scans a QR code, takes one selfie, and gets every photo they appear in.
What You Need Before You Start
- An email address - to open your account and verify it
- A few photos from the event with people in them. 10-20 are enough to see it work
- Event still ahead and no photos yet? You can try it with sample photos
- A computer or a phone. Nothing to install - not for you, not for your guests
Step 1: Sign Up
Open the platform, fill in your name, email and a password, and accept the terms. We'll send you a verification email - click the link in it and your account is active.
Step 2: Create the Event
Give the event a name (say, "Dor and Shir's wedding") and pick a date. You can add a background photo too - it's the first thing guests see - or skip it and choose one later from the photos you upload. The name, date and photo can all be changed at any point.
In the free trial you work on one draft at a time. The draft is private - only you can see it - until you decide to publish.
Step 3: Upload Photos
Drag in JPG or PNG photos from your computer, or pick them from your phone. The free trial takes up to 30 photos, which is enough to see how the system finds people. Once you pay, the limit is lifted and you upload the whole event: up to 5,000 photos with Snapick and up to 10,000 with Snapick Plus. For the trial, choose photos where people face the camera - that's where recognition is clearest.
Step 4: The System Finds the People
After the upload, Snapick detects the faces in the photos and groups every person's photos together. It takes about a minute, and there's nothing to click. At the end you'll see the people it found - each of them will be able to find all their photos in the gallery with one selfie, without scrolling through hundreds of photos.
Step 5: Try It as a Guest
Before you pay, you see exactly what your guests will get: pick one person's face, or take a selfie if you're in the photos, and the phone screen shows only that person's photos, ready to download. The selfie is used only for the search and is not stored.
Step 6: Choose a Package and Publish
When you're ready to share, choose a package and pay once - no subscription. After payment there's one step left: click "Publish and go live". Publishing opens the gallery to guests, activates the link and the QR code, and starts the storage period.
| Snapick | Snapick Plus | |
|---|---|---|
| Price per event | ₪399 (₪449 from 1 November 2026) | ₪599 |
| Personal face-recognition gallery for every guest | ✓ | ✓ |
| Guest photo and greetings album | ✓ gift | ✓ |
| Photos | Up to 5,000 | Up to 10,000 |
| Storage from publishing | 6 months | 12 months |
| Full branding and logo | ✗ | ✓ |
Step 7: Share With Your Guests
- A gallery link - send it in the event's WhatsApp group, by email or by message
- A printable QR sign - download it from the platform and place it at the venue or on the tables. There are two kinds: one to view the gallery, and one to upload photos and greetings to the guest album
- An access code - if you want, only people who have the code can open the gallery
- Automatic WhatsApp delivery of the link to every guest - a paid add-on from ₪49, arranged with our team
What to Know: When to Publish
The most important decision in the process is when to publish, and it depends on what you want to happen at the event itself:
- Want guests to upload photos and greetings during the event? Publish before it, so the QR works when they arrive.
- Waiting for the photographer's photos? No need to rush. Pay, upload and publish when the photos are ready - the storage period only starts when you publish.
- Not ready to decide? The draft is saved, and you can keep uploading and choose a package from the dashboard at any time. The platform shows how long the draft is kept.
A Suggested Timeline
| When | What to do |
|---|---|
| A few weeks before the event | Create the event and try it with sample photos or photos from a past event |
| A few days before | Choose a package, publish, and print QR signs for the guest album |
| On the day | Guests scan the QR and upload photos and greetings from their phones |
| When the photographer's photos arrive | Upload the full set and send guests the gallery link |
And What Do Guests Need to Do?
Almost nothing. A guest opens the link or scans the QR, takes one selfie in the browser, and gets a personal gallery of every photo they appear in, at original quality. No app, no sign-up and no payment - guest access is always free.
FAQ
How long does it take to create an event on Snapick?
A few minutes. Creating the event is a name and a date, and finding the people in your trial photos takes about a minute. You upload the full set whenever it suits you.
Do I need a credit card to start?
No. Create an event, upload up to 30 photos and see face recognition work without paying. You only pay when you want to open the gallery to your guests.
How much does it cost to create an event on Snapick?
Creating it and trying it are free. To share the gallery with guests you choose a package: Snapick at ₪399 per event (₪449 from 1 November 2026), or Snapick Plus at ₪599 with full branding, up to 10,000 photos and a year of storage. One payment per event, no subscription.
Can I create an event before I have the photographer's photos?
Yes. Try it with sample photos, publish before the event so the guest album works, and add the photographer's photos when they arrive.
Do guests need to download an app or sign up?
No. Everything works in the phone's browser: a link or a QR, one selfie, and their personal gallery is ready. No sign-up and no payment.
What happens to the guests' selfies?
The selfie is used only to find that guest's photos at that event, and it is not stored.